Valentines Treats Chocolate Covered Oreos
Highlighted under: Special Cooking
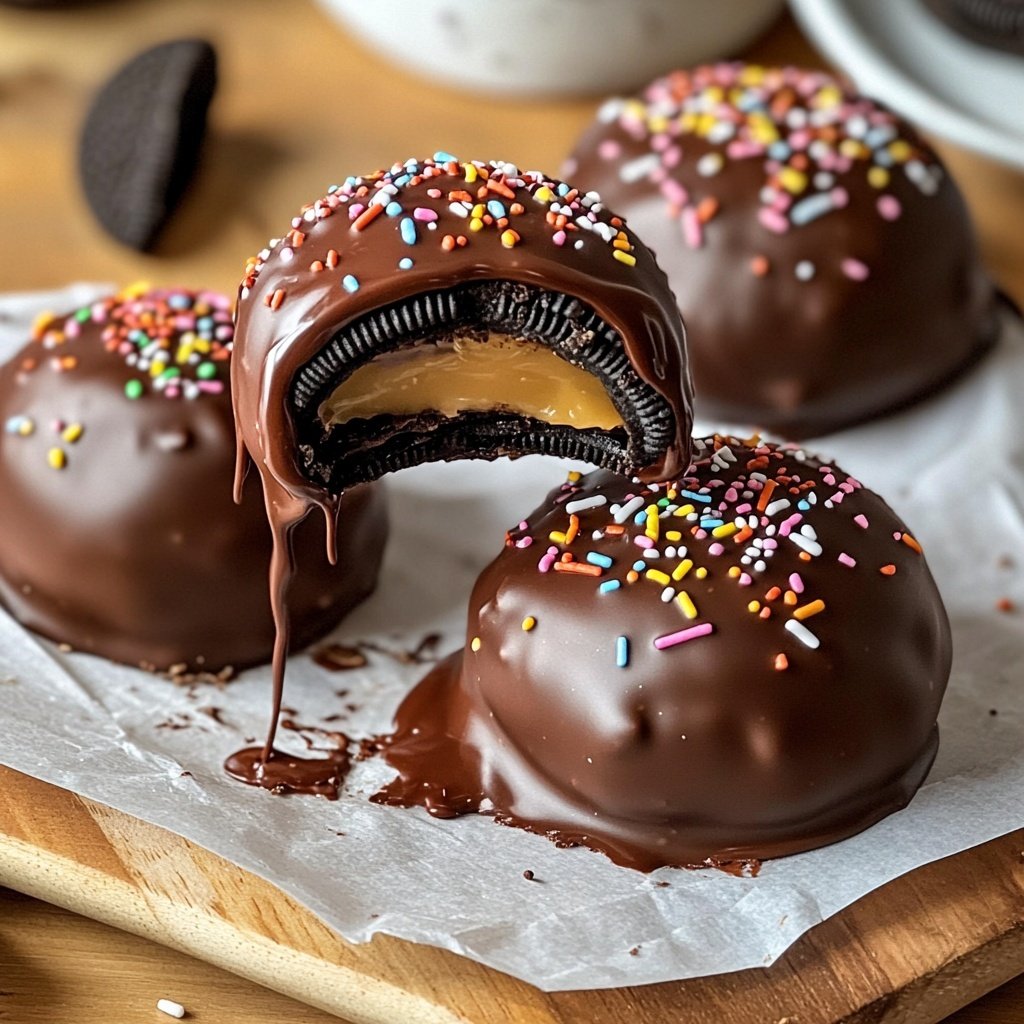
I love making these chocolate-covered Oreos for Valentine's Day! They are not only fun and easy to prepare, but they also make for a delightful treat to share with loved ones. The combination of creamy chocolate and the classic Oreo cookie is simply irresistible. Plus, I find that adding a touch of pink and red sprinkles gives them a festive flair that brightens up any occasion. These treats are sure to be the highlight of your celebration!
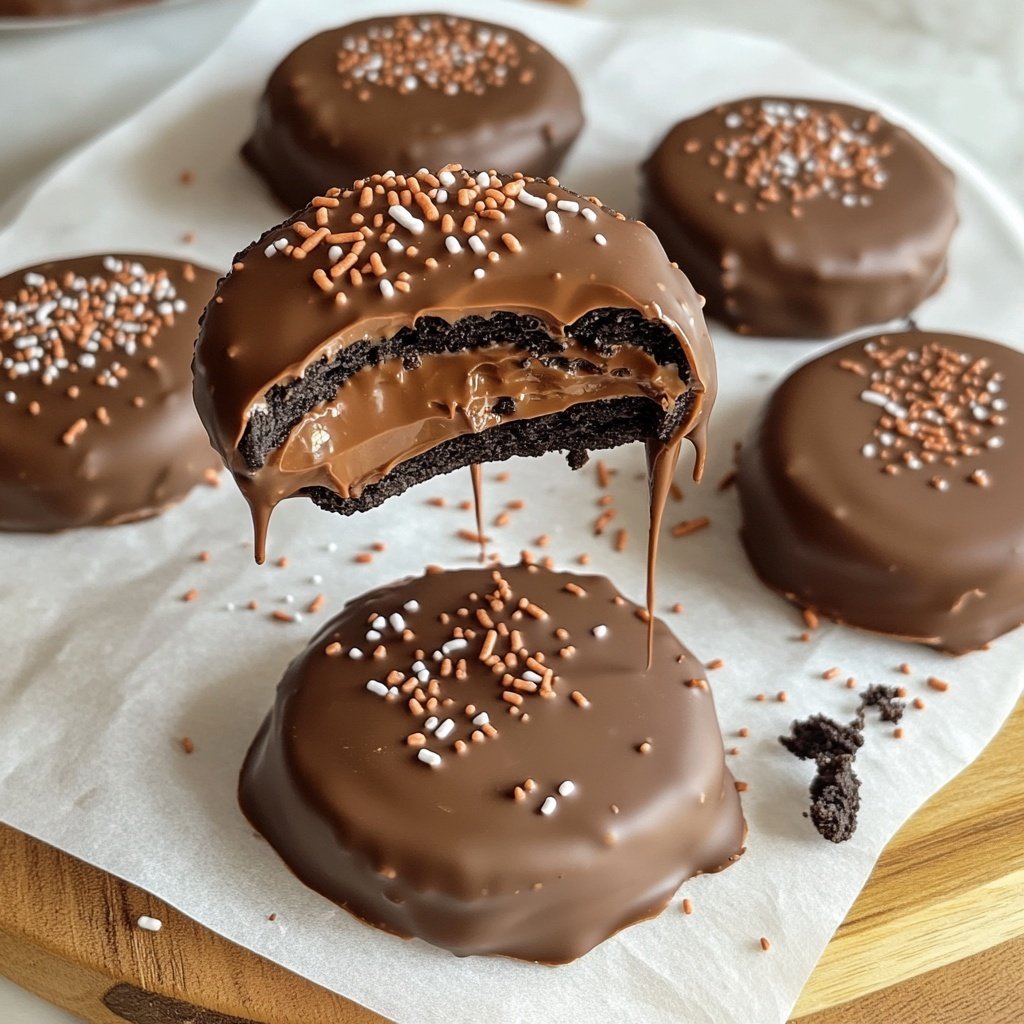
When I first made these chocolate-covered Oreos, I was amazed at how simple they were yet so decadent. The method works because the melting chocolate creates a smooth coating that seals in the cookie's rich flavor. I always opt for high-quality chocolate to ensure a delightful experience in every bite.
Another tip I discovered is to let the coated cookies cool on a wire rack rather than directly on wax paper. This way, they avoid sticking and maintain their beautifully smooth finish. Trust me, your friends and family will be asking for seconds!
Why You'll Love These Treats
- Decadent chocolate coating that enhances the Oreo experience
- Easy to customize with your favorite sprinkles and toppings
- Makes for a charming gift or party favor
Mastering the Chocolate Dip
Melted chocolate is the star of this recipe, so using high-quality chocolate melting wafers is essential. These wafers are specially designed to melt smoothly without seizing. When melting, ensure you use a microwave-safe bowl and do it in short bursts of 30 seconds, stirring in between. This technique helps prevent overheating. Look for a glossy, fluid texture before using it to dip your Oreos. If the chocolate seems too thick, you can add a teaspoon of coconut oil to thin it out, giving you a smoother coating.
As you dip the Oreos, be conscious of the temperature of the chocolate. If it's too cool, it will not coat effectively, and if it's too hot, it can cause the cookie to become soggy. Ideally, the chocolate should be warm enough to adhere but not scalding. Practice makes perfect; don't be discouraged if your first few Oreos don’t look picture-perfect. They'll still taste delightful, and you’ll refine your technique with each dip!
Creative Decoration Ideas
The joy of chocolate-covered Oreos lies in their versatility. While the classic sprinkles are a fun addition, you can elevate these treats further by considering various toppings. Melted white chocolate can be drizzled over the dark chocolate for a beautiful contrast. Additionally, crushed nuts, mini chocolate chips, or even freeze-dried fruit powder can add flavor and visual appeal. Just make sure to add them while the chocolate is still wet so they stick properly.
If you're preparing these for a themed event or to match a specific color palette, you can easily incorporate colored candy melts instead of standard chocolate. This allows you to create stunning designs that reflect the spirit of your occasion. Remember to use contrasting colors to accentuate the festive look of your treats!
Storage and Presentation Tips
Once the chocolate has completely set, you can store these treats in an airtight container. If you're making them ahead of time, they can be refrigerated for up to two weeks, but I recommend letting them sit at room temperature for an hour before serving to enjoy the best texture. This will make them more enjoyable to bite into as the chocolate softens slightly.
For an elegant presentation, consider arranging the Oreos in a decorative box or platter. Wrapping them in cellophane with a festive ribbon can turn these treats into lovely gifts for friends and family. They are not only delicious but also make a delightful centerpiece for your Valentine's Day gatherings!
Ingredients
Gather the following ingredients to make these delicious chocolate-covered Oreos:
Ingredients
- 24 Oreo cookies
- 1 cup chocolate melting wafers (dark or milk chocolate)
- Sprinkles or decorative toppings (optional)
Once you have all your ingredients ready, you can move on to the next step!
Instructions
Follow these easy steps to prepare your chocolate-covered Oreos:
Melt the Chocolate
In a microwave-safe bowl, melt the chocolate wafers in 30-second intervals, stirring between each interval until smooth.
Dip the Oreos
Using a fork, dip each Oreo cookie into the melted chocolate, making sure it is entirely coated. Gently tap the fork against the bowl to remove excess chocolate.
Decorate
Place the dipped cookies on a wire rack or parchment paper. If desired, sprinkle with your choice of decorations before the chocolate sets.
Let them Set
Allow the cookies to cool and set completely for about 10-15 minutes at room temperature or in the refrigerator for quicker results.
Enjoy your delicious homemade chocolate-covered Oreos!
Pro Tips
- For a fun twist, try using flavored chocolate melts like white chocolate or colored melts for different occasions.
Troubleshooting Chocolate Issues
If your chocolate doesn’t fully melt and you’re left with clumps, it might be that the bowl was too hot to start with or the chocolate was overheated. To fix this, let the chocolate cool for a minute and then reheat it gently in shorter intervals. If you find that the chocolate has hardened too quickly while you're dipping, try placing it back in the microwave for a few seconds to soften it up again.
On the other hand, if the coating is not shiny or looks dull after setting, it could be due to moisture in the chocolate or the Oreos. Make sure your tools are dry, and allow the cookies to cool a bit before dipping them into the chocolate to minimize moisture.
Ingredient Alternatives
If you’re looking for a dairy-free option, there are great vegan chocolate melting wafers available that work just as well as traditional ones. Additionally, if you’re allergic to gluten, consider using gluten-free Oreos which are widely accessible. These substitutes ensure that everyone at your gathering can enjoy this sweet treat without worry.
For some added flavor, you might want to experiment with flavored extracts, such as vanilla or peppermint. Just add a few drops to the melted chocolate before dipping the Oreos. This can create an unexpected flavor twist that makes these treats even more delightful!
Scaling the Recipe
This recipe is easily scalable, making it perfect for any gathering size. If you're hosting a big party, doubling or even tripling the ingredients is as simple as increasing the number of Oreo cookies and chocolate wafers. Just make sure to space them out appropriately on the cooling rack or parchment paper to avoid clumping together.
Alternatively, if you're making a smaller batch, feel free to adjust according to your needs. Even dipping just six Oreos is a fun activity that can brighten your day. Whatever size batch you choose, they promise to bring warmth and sweetness to your celebrations!
Questions About Recipes
→ Can I use regular chocolate bars instead of melting wafers?
Yes, but ensure they are finely chopped for even melting, and you may need to add a bit of vegetable oil for smoothness.
→ How can I store the chocolate-covered Oreos?
Store them in an airtight container at room temperature for up to a week or in the fridge for longer freshness.
→ Can I use gluten-free Oreos?
Absolutely! Gluten-free Oreos work perfectly for this recipe if you're catering to gluten sensitivities.
→ What other toppings can I use?
You can use crushed nuts, coconut flakes, or even drizzle some melted white chocolate on top for an added touch.
Valentines Treats Chocolate Covered Oreos
What You'll Need
Ingredients
- 24 Oreo cookies
- 1 cup chocolate melting wafers (dark or milk chocolate)
- Sprinkles or decorative toppings (optional)
How-To Steps
In a microwave-safe bowl, melt the chocolate wafers in 30-second intervals, stirring between each interval until smooth.
Using a fork, dip each Oreo cookie into the melted chocolate, making sure it is entirely coated. Gently tap the fork against the bowl to remove excess chocolate.
Place the dipped cookies on a wire rack or parchment paper. If desired, sprinkle with your choice of decorations before the chocolate sets.
Allow the cookies to cool and set completely for about 10-15 minutes at room temperature or in the refrigerator for quicker results.
Extra Tips
- For a fun twist, try using flavored chocolate melts like white chocolate or colored melts for different occasions.
Nutritional Breakdown (Per Serving)
- Calories: 150 kcal
- Total Fat: 8g
- Saturated Fat: 4g
- Cholesterol: 0mg
- Sodium: 40mg
- Total Carbohydrates: 20g
- Dietary Fiber: 0g
- Sugars: 12g
- Protein: 1g